How To Start With TeX And LEd - Take These Simple And Easy Steps
This article will show youhow to start with tex and led. TeX is a typesetting language invented by Donald E. Knuth in the late 1970s, because he was disappointed with the quality of the galley proofs of his magnificent book The Art of Computer Programming. The history of TeX is interesting, but for us TeX's most important features are:
- it is totally free; moreover, D.E. Knuth pays for any bug found in TeX (unfortunately, or fortunately ;-), the last bug was discovered many years ago),
- it is available for many operating systems,
- there is an extension of TeX, called LaTeX developed by Leslie Lamport which makes document preparation much easier; LaTeX is so popular that nowadays a lot of people say TeX when they are thinking of LaTeX,
- writing in TeX/LaTeX is relatively easy, after some preliminary effort,
- it produces high quality documents (much better than typical, popular word processors),
- TeX/LaTeX is designed for mathematics-related writers so it is no problem to typeset nice-looking mathematics,
- many scientific publishers require documents in LaTeX,
- it is easy to work on a document of almost any size.
TeX/LaTeX are languages and a document is prepared in textual form, so any text editor can be employed. Nevertheless, some editors make this process easier. The textual source is then compiled to obtain the document in an intermediate DVI format. The document can be then converted to PostScript, PDF, or other file types.
What Do I Need To Start TeXifying?
Choosing A TeX Distribution
TeX and LaTeX are rather small programs, but they can be extended by external packages. Therefore, they are usually offered in distributions. Some of the most popular are MiKTeX and TeXLive. The TeX/LaTeX distribution is needed to work with TeX, so the first step is to download one of them (we recommend that LEd's users choose one of these two, since LEd has been tested to work correctly with them). Then, TeX should be installed using an included installer (unfortunately, currently, the newest TeXLive version, TL 2004 does not contain an installer, and the installation has to be done manually).
Checking Whether TeX Is Installed Correctly
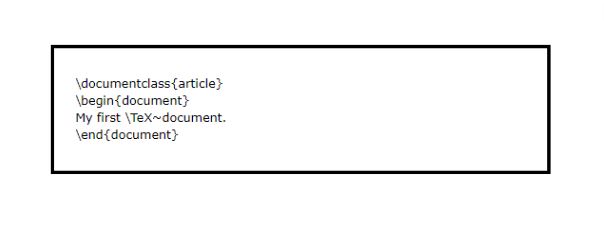
After a successful installation, and likely also after a computer restart, it is a good idea to check whether TeX is installed correctly. To this end, please start any text editor (e.g., Notepad), type the text shown in the following frame, and save the file under the name test.tex.
Now please go to the command line and execute the following command.
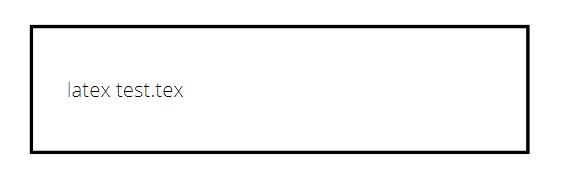
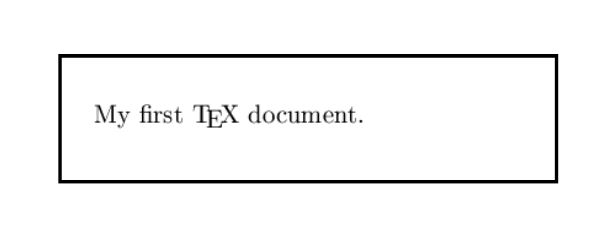
You should obtain the test.dvi file. This file can be seen in any DVI Viewer contained in the TeX distribution, such as WinDVI, YAP and should look like what is shown below.
Installing Software To View PostScript And PDF Files
DVI files have many advantages: they are portable, they can be converted to a number of formats. Unfortunately, people prefer more suitable formats like PostScript (which allows the file to be printed by simply copying it to a PostScript printer) and PDF.
To obtain the PostScript file you should use the following command.
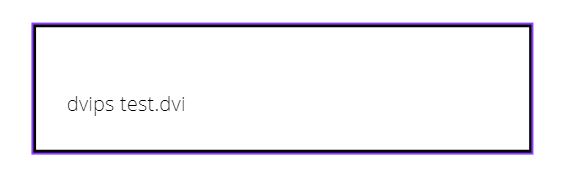
If everything goes fine, you should obtain the file test.ps, which can be printed by most laser printers. Nevertheless, it is likely that you will want to view the final file without printing it. To be able to do this, you should download and install the Ghostscript interpreter, and to make previewing easy also GSView, a graphical interface for Ghostscript. (Carefully read the licenses of those applications.)
PDF files are obtained in a slightly more complex way. (Sometimes, when you insert images, it is necessary to make changes to the document source properly converting to PostScript to allow also compilation to PDF. Fortunately, our test.tex file does not need changes.) The first thing you need is to select a PDF previewer, like Adobe Acrobat Reader. Then, you should convert your DVI file to PDF format by executing the following command:
The programs converting DVI to PDF files are still under development, so the execution command may be different (it depends on the TeX distribution). If it succeeds, you should obtain test.pdf which can be seen in your PDF viewer.
There is also an alternative way to produce the PDF file, directly from LaTeX source, without an intermediate DVI file. To do this please use the command shown below.
Installing And Configuring LaTeX Editor (LEd)
Editing documents in Notepad is possible, but a specialized editor would make this task much easier. There are several editors, but since you are at www.latexeditor.org you can probably guess :-) that we recommend our tool, LaTeX Editor (LEd). The first step is to download the latest release of LEd from our download page and install it. The installation is rather easy. If you are not an advanced user, please use an installer, which makes all the necessary things. Advanced users may also use an alternative zip file. Both versions contain, however, the same files.
The second step is to run LEd and configure it. Therefore, run LEd.exe or use a shortcut from your desktop. After running LEd for the first time, you will see the dialog box, in which you can select which file extensions should be associated with LEd. here you can also disable the option of showing this dialog box in the future. Then, you should select from the menu the option Configuration\Options. This dialog window contains most of the configuration options. Then, please follow:
- In the section Application, you should see the combo box entitled Language. It contains the name of LEd's user interface language. The default value is Default, which means that the language is the same as operating system language. If it is impossible (LEd is now available only in American English, British English, Polish, and Russian) American English is used. Here, you can select the language you want-after closing the dialog box, the language will change.
- In the section Application\Directories, you can choose the directories used by LEd. You should change them only in special cases, when you know what you want to do. The only directory which you would probably want to change is Projects. This is the default directory, in which LEd's projects will be stored.
- Setting proper values in the section Application\DVI Viewer is crucial if you want to use the built-in DVI viewer. Firstly, you should select your TeX distribution. We now show further configuration for two distributions.
MiKTeX 2.4
- choose TeX distribution to be MiKTeX2; after choosing this value most of the remaining fields should be set automatically, but please check them,
- set the value of TeX executables to a directory containing main TeX executables, like latex.exe; it should be something like C:\temmf\miktex\bin,
- the value of Font searching library should be set to MiKTeX-core-2.dll,
- the value of Font making script should be set to makepk.exe,
- the value of Fallback font should be set to cmr10,
- the value of Mode should be set to ljfour,
- the value of Resolution should be set to 600 dpi,
TeXLive 2004
- choose TeX distribution to be TeXLive2004; after choosing this value most of the remaining fields should be set automatically, but please check them,
- set the value of TeX executables to a directory containing main TeX executables, like latex.exe; it should be something like C:\Program Files\TeXLive\bin\win32,
- the value of Font searching library should be set to tl90kpse.dll,
- the value of Font making script should be set to mktexpk.exe,
- the value of Fallback font should be set to cmr10,
- the value of Mode should be set to ljfour,
- the value of Resolution should be set to 600 dpi.
To enable showing EPS figures in DVI viewer you also need to set some other things:
- the value of Temporary files should point to any directory which can be used for temporary files,
- the value of GSDLL32.DLL library should point to a directory containing the Ghostscript binaries, i.e, the file gsdll32.dll, e.g., C:\Program Files\gs\gs8.14\bin,
- to enable showing EPS figures you also need to check the option Show EPS figures.
Creating Your First LEd Project
Project Based On A Template
To create a project based on a template please choose File\New from the menu and select the Templates tab. Here you can see a number of available document templates. Let us select Paper, set the project name as MyPaper, leave the Location unchanged, and press OK. In a project tree you can see three files:
- MyPaper.tex - it is the main LaTeX source; in projects you can store more than one LaTeX source, but only one can be main (it is necessary to know which file should be compiled); the main file is marked with a green icon; (to select the main file in larger projects, you only need to right-click its name and choose from the popup menu Mark As Main);
- MyPaper.toc - it is an auxiliary file necessary to easily work the document's table of contents;
- build.bat - it is a file used to build the whole project; you can change it if you need some special processing of the document.
Now, you should double-click on MyPaper.tex to see it in an editor window. You can introduce some text into this file and when you finish you can save it. LEd will ask you about the location of the project and its components. When the project is saved, you can compile it. To do this, press the green arrow speed button or use a shortcut Ctrl+F9. If it succeeds, you can see the DVI file in a built-in DVI viewer, which can be seen by moving the splitter pane at the right side of the LEd's window. If some errors appear, you can see the compilation log in the lower part of the main window. There is also a Message window (to see it, please use the splitter pane shown at the lower side of the LEd's window), which stores the messages from the compilation. You only need to double click the error message to move to this line of the source text in the editor.
Another Project
To create a project which is not based on a template please choose from the menu File\New and select the Projects tab. Here you should select TeX/LaTeX - Project description file, give the project a name, select a location, and press OK. Now, you should choose from the menu File\New one more time and select the Files tab. Then, you should select TeX/LaTeX document, mark Add to project, choose the project you created, give the file a name, and press OK. Then, you can follow the same directions given in the previous section.
Final Thoughts
Now you can start writing your documents, and exploring LEd's features which are not described here. We are writing more detailed documentation of LEd, but unfortunately, you have to be patient, for it is in an early stage.
If you need some assistance with LaTeX, please visit our links page, where a number of interesting books and documents are presented.